Getting Your Garden Prepped for Planting
Nothing can chase away the winter blahs more than a crisp sunny day that gives you a chance to clear out your landscape for spring planting season. You have to be careful when you begin planting, but you can absolutely begin clearing the way for new plants any time it’s comfortable to be outside. So where do you start? Unfortunately, the hard work usually comes first. Prepping your tools, moving heavy piles of soil and debris, all this comes before you can begin relaxing and seeing the fruits of your labor. So here we go.
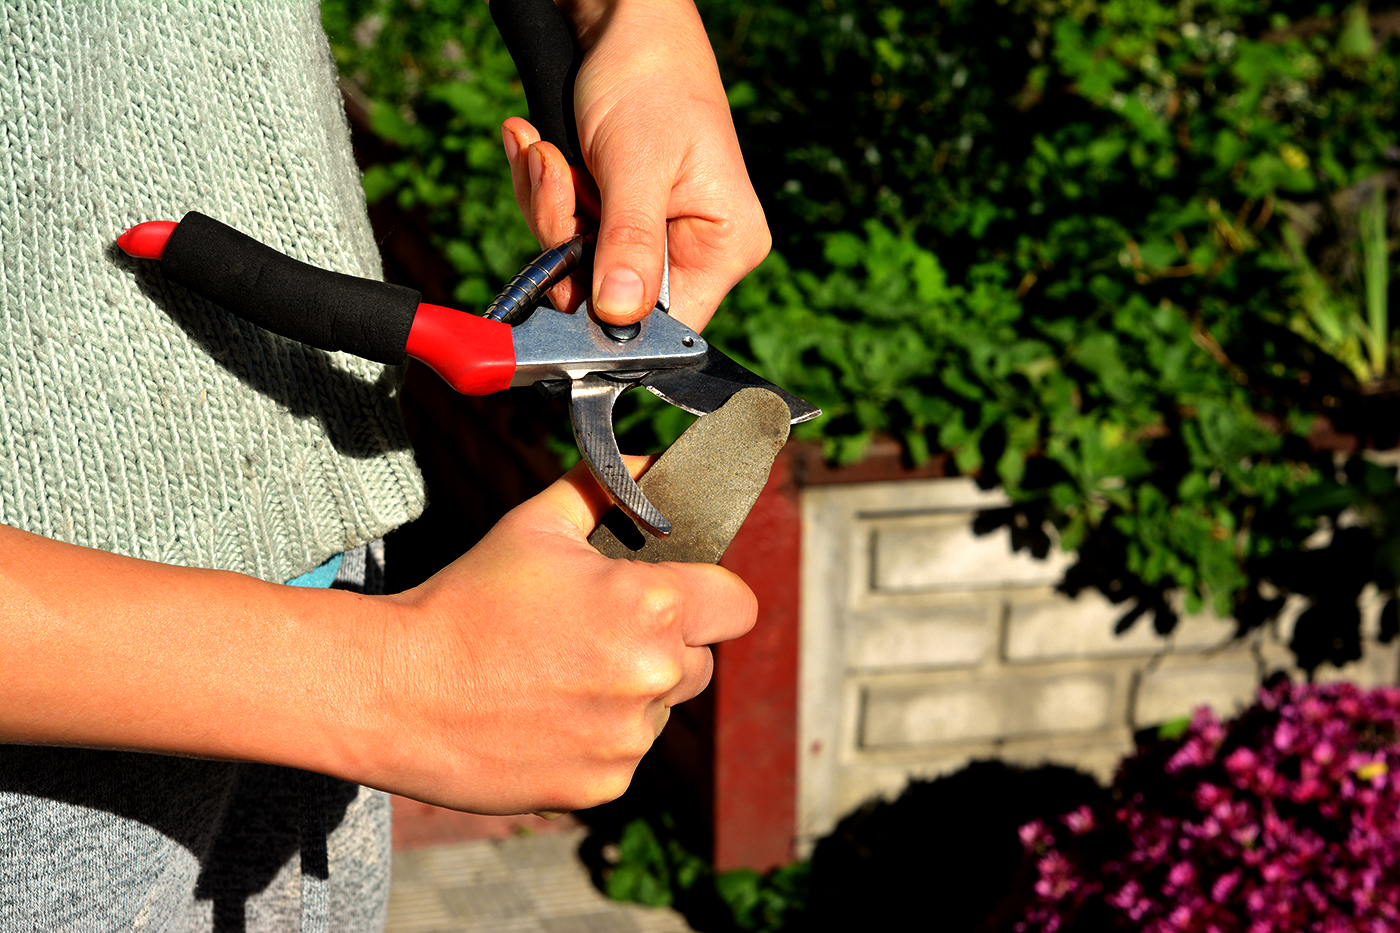
Maintenance Tips for Garden Tools and Equipment
Getting your garden prep for planting started means there may be some upkeep on your cutting tools. There are plenty of items to help you do this yourself. There are also several Westlake Ace locations that will perform a professional sharpening service on clippers, trimmers and lawnmower blades for a fee. Check the store locator page for locations in your area that provide the Blade Sharpening service option.
Outdoor power equipment that runs on gas can be tough to start after sitting idle for the winter, especially if they spent the cold months in a garage or shed with no climate control. There are four basic things you can do to help your equipment perform their best after a long period of disuse.
- Drain or siphon nearly all the fuel from the tank and then replace
- Install new air filters
- Replace older spark plugs
- Sharpen the blades of any cutting tool like a tiller or lawnmower
If your gas-powered equipment still won’t start after replacing plugs, air filters and fuel, there’s a chance that the fuel has fouled the fuel filter and line. The filter will need to be replaced.
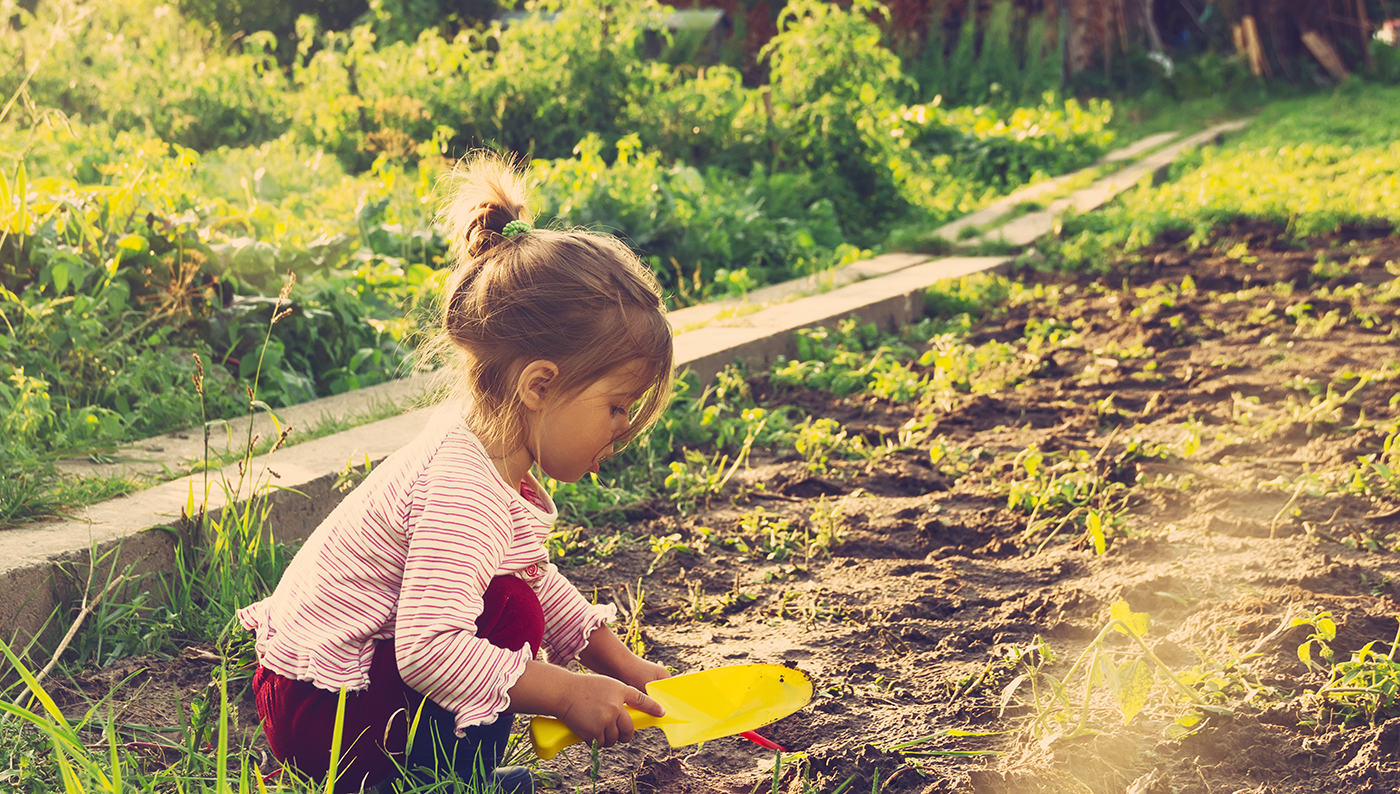
Garden prep and clean up for spring planting
If it’s warm enough during the day and your cutting tools are back in shape, you can now set aside time to begin clearing debris. This means removing any leaves, grass and sticks from the garden bed and getting rid of branches that fell during winter and breaking them into smaller pieces. You should also completely remove any dead annuals that may have been left in the ground over winter. They will make great brown waste compost material as long as you didn’t use any pesticides on them. The same goes for vegetable plants that died over the winter. Now would also be a good time to cut back any perennials that you didn’t get to in fall, before the new growth starts to appear.
Using dead leaves to make easy and cheap mulch
Most homeowners have a great gardening resource in their own yard that makes wonderful, cost-effective mulch. The dead leaves that always find their way into your yard over the winter or at the onset of fall are outstanding organic fuel for healthy gardens. You will want to shred them with a lawn mower, string trimmer, or leaf shredder first. If you own a mulching mower, you get the added benefit of being able to mix in grass clippings with the leaves you are shredding. It will be the nearly perfect ratio of green nitrogenous material and brown carboniferous material for a compost bin, or you can just take it right from your mower’s bag attachment and spread it directly on your garden bed.

Preparing your gardening soil for planting
If the day you decided to do this work on is cool and dry, make sure your garden soil is as well. It’s not a good idea to begin preparing garden soil if it’s muddy. If it’s dry, begin pulling up any stakes, tomato cages, plant tags, drip irrigation lines or other objects left out from last year. You may also wish to rake out last year’s mulch from your garden and flower beds if it is looking old and discolored. Old bark or leaf mulch make great additions to a compost pile. If your old perennial plants show any spring growth start putting fresh mulch down around them. New plants can be mulched later, just after you put them in the ground.
Spread a fresh 1 to 2-inch layer of planting mix or compost over the soil. Planting mix can be left on the surface and planted directly into. For vegetables, however, it’s always best to till to a depth of 6-8″ in order to thoroughly mix the old and new soil. (Unless you’re planting into raised vegetable beds, such as those with wooden sides.)
And finally, spread slow release fertilizer, compost and other soil amendments over your perennial beds without tilling them before the plants emerge. A good cover of this material really goes a long way with helping conserve water.

Click To Shop